How to Build a Room-by-Room Medical Cleaning Schedule
A medical cleaning schedule should tell a trained person what to clean, where, when, how, with which approved product, and how completion is verified. A single line such as “clean the clinic nightly” leaves too much room for missed tasks and unsafe assumptions.
OSHA’s Bloodborne Pathogens housekeeping guidance identifies location, surface type, contamination, and room tasks as factors in a written schedule where occupational exposure is relevant. CDC’s core infection-control practices likewise support risk-based environmental procedures, training, and monitoring.
Step 1: Inventory every space
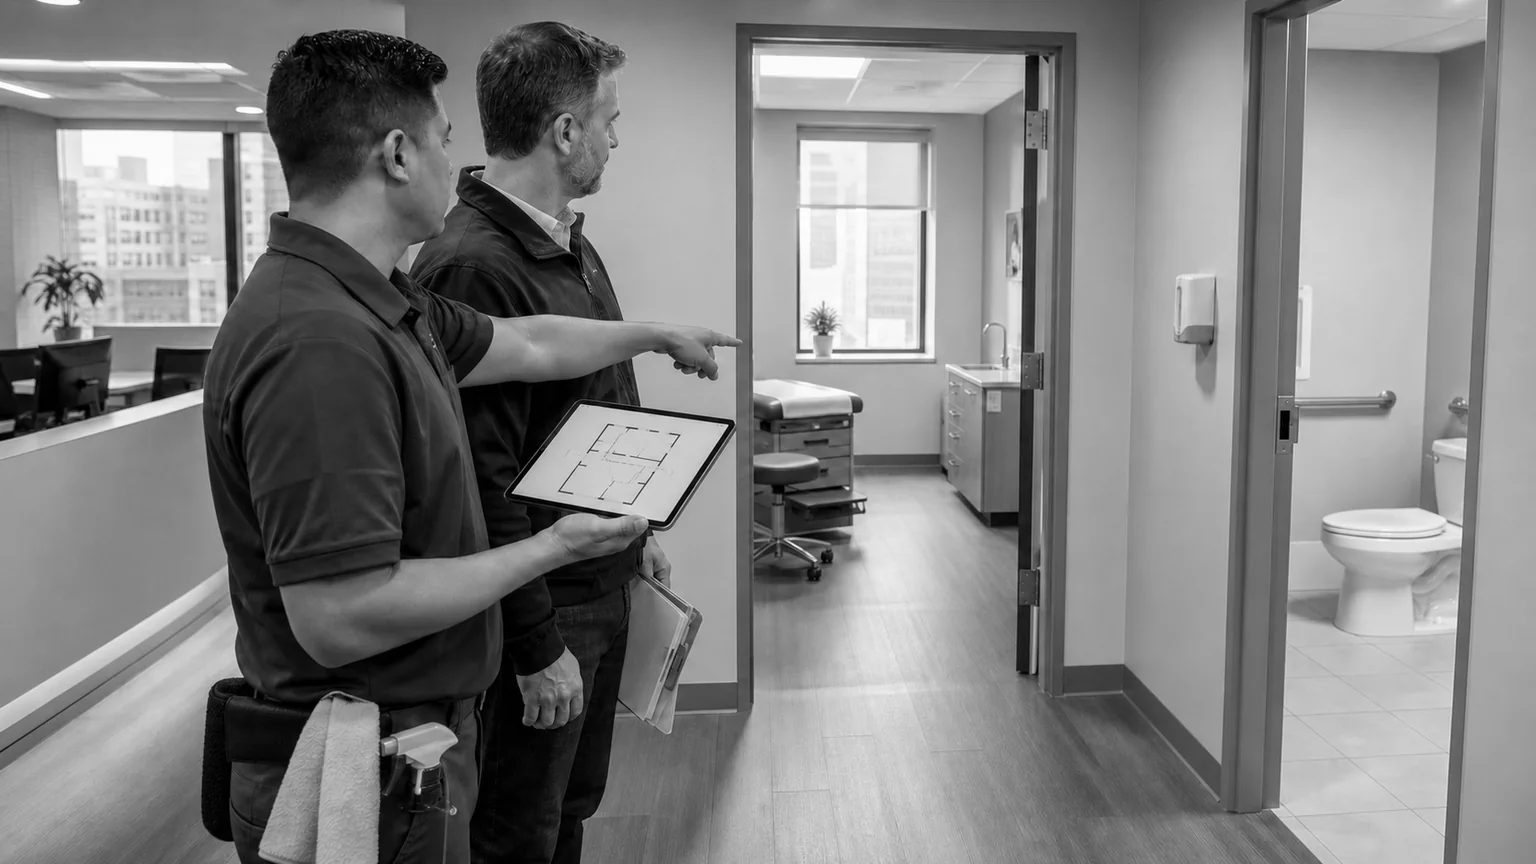
Walk the facility while rooms are in use and after closing. Include:
- entrance, reception, and waiting areas;
- exam and treatment rooms;
- consultation and administrative offices;
- laboratories or specimen areas;
- clean and soiled utility spaces;
- medication, supply, and storage rooms;
- staff kitchens and breakrooms;
- public and staff restrooms;
- corridors, elevators, stairs, and waste routes;
- cleaning closets and equipment-storage areas.
Record room names exactly as staff use them. Ambiguous labels make reporting harder.
Step 2: List surfaces and responsibilities
Separate high-touch, near-patient, low-touch, floor, fixture, and equipment surfaces. Then name the owner for each task.
| Schedule field | Example decision |
|---|---|
| Room | Exam Room 3 |
| Surface | Door handle and light switch |
| Owner | Environmental cleaning team |
| Procedure | Clean then disinfect with facility-approved method |
| Trigger/frequency | Between patients, end of day, or another approved schedule |
| Restrictions | Do not handle clinical device or sharps container |
| Verification | Room checklist plus rotating supervisor observation |
Clinical devices, instruments, sharps, regulated waste, medication areas, and sensitive electronics need explicit handoffs. “Excluded” should name the responsible role so the task does not become orphaned.
Step 3: Set frequency by risk and use
Avoid applying “daily” to everything. Consider:
- patient and visitor volume;
- room turnover and procedure type;
- touch frequency and proximity to patient care;
- visible soiling and spill events;
- facility infection-prevention policy;
- product-label requirements;
- outbreaks or special precautions;
- access and drying time.
Use triggered tasks for spills, visible soil, supply depletion, or unusual events. Use periodic tasks for low-touch surfaces, vents, high dusting, upholstery, and restorative floor work as appropriate.
Step 4: Attach the approved method
Each task should point to a current procedure rather than rely on tribal knowledge. Record:
- product name and label reference;
- dilution or ready-to-use status;
- pre-cleaning and wet contact-time instructions;
- PPE and ventilation requirements;
- tool and color-coding rules;
- clean-to-dirty and room sequence;
- equipment-manufacturer restrictions;
- waste and reusable-tool handling.
If staff cannot perform the method in the allotted time, the schedule is not operationally complete.
Step 5: Define evidence of completion
Different tasks need different controls:
- a cleaner’s checklist for route completion;
- supervisor visual inspection for soil, damage, and supplies;
- direct observation for product and sequence technique;
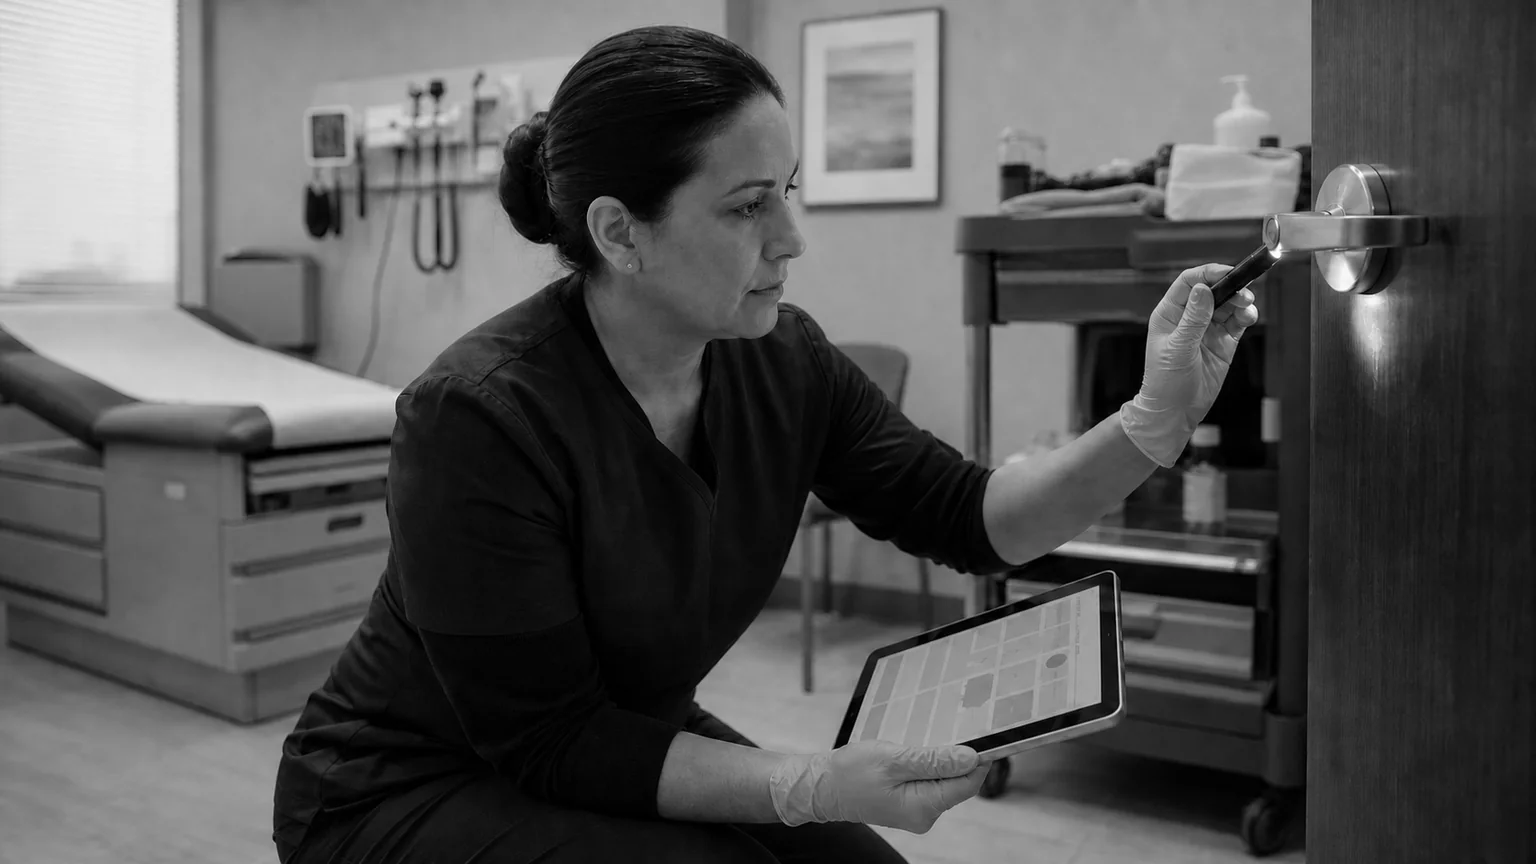
- rotating fluorescent-marker review where appropriate;
- issue logs and corrective-action tracking;
- facility feedback by room and shift.
Do not describe a visual check as proof that pathogens are absent. Each measure has a narrower purpose.
Step 6: Review and revise the schedule
Set review triggers, including:
- new equipment or room use;
- a product or label change;
- recurring missed tasks;
- revised clinic hours or patient volume;
- a spill, exposure, or near miss;
- infection-prevention feedback;
- changes in facility policy or applicable requirements.
Version the schedule so cleaners and supervisors know which instructions are current.
Turn the walkthrough into an executable scope
365 Spotless’s public workflow includes an on-site assessment followed by a clear proposal and reporting. During that assessment, the facility and contractor should validate room names, task ownership, timing, exclusions, products, and inspection expectations. Learn about medical-office cleaning in NYC or schedule a walkthrough.
Frequently asked questions
Who approves a medical cleaning schedule?
The clinic should assign approval to appropriate infection-prevention, clinical, facilities, and safety personnel. The contractor confirms that assigned tasks are understood and feasible.
How often should the schedule be updated?
Review it on a defined cadence and whenever rooms, equipment, products, procedures, hours, or risk conditions materially change.
Is a checklist enough for quality control?
No. Combine route sign-off with observation, inspection, feedback, and corrective action appropriate to the task.